The Art of Tasting
How to Taste Chocolate
Tasting is not eating. It’s about focus, attention, and connection with your senses. Each individuals’ sensory evaluation is unique to themselves (seeing, hearing, smelling, tasting & touching), and there is no “right or wrong” when tasting chocolate. Discussing your perception with others brings out subjective differences, which leads to a more interesting discussion. Use your senses, understand the perceptions, and discover how to taste & share your experience.
Prep:
Taste Multiple Origins or Vareties:
When tasting chocolate, it’s easier to distinguish nuances when comparing different chocolates to one another in the same tasting session. Whether it be different single origin blends or flavor inclusions, anywhere from four to eight varieties allows for a more complex sensory journey, but even just two varieties will yield a stronger “tasting experience.”
Chocolate’s Temperature:
Chocolate should be kept dry and cool, between 63°-70°, with the ideal tasting temperature at 70° -72°. The temperature will play an important role in the sensory experience, as it provides the proper environment to yield the proper “snap.”
Discussion:
If you are hosting a tasting party, or just tasting with a couple friends or colleagues, it is good to share your thoughts with one another to discuss different flavor notes and aromas picked up in your tasting experience. Now, at first, it may be difficult to identify what flavor profile you think you might be picking up, so an aroma wheel is beneficial in identifying perceived flavors:
Palate Cleanser:
When tasting multiple varieties of chocolate, it is important to cleanse your palate in between varietals so the flavors & aromas do not overlap one another. After fully tasting one blend, “cleanse your palate.” The preferred cleanser is water crackers, followed by a sip of water to cleanse properly for the next tasting.
Step 1: Look
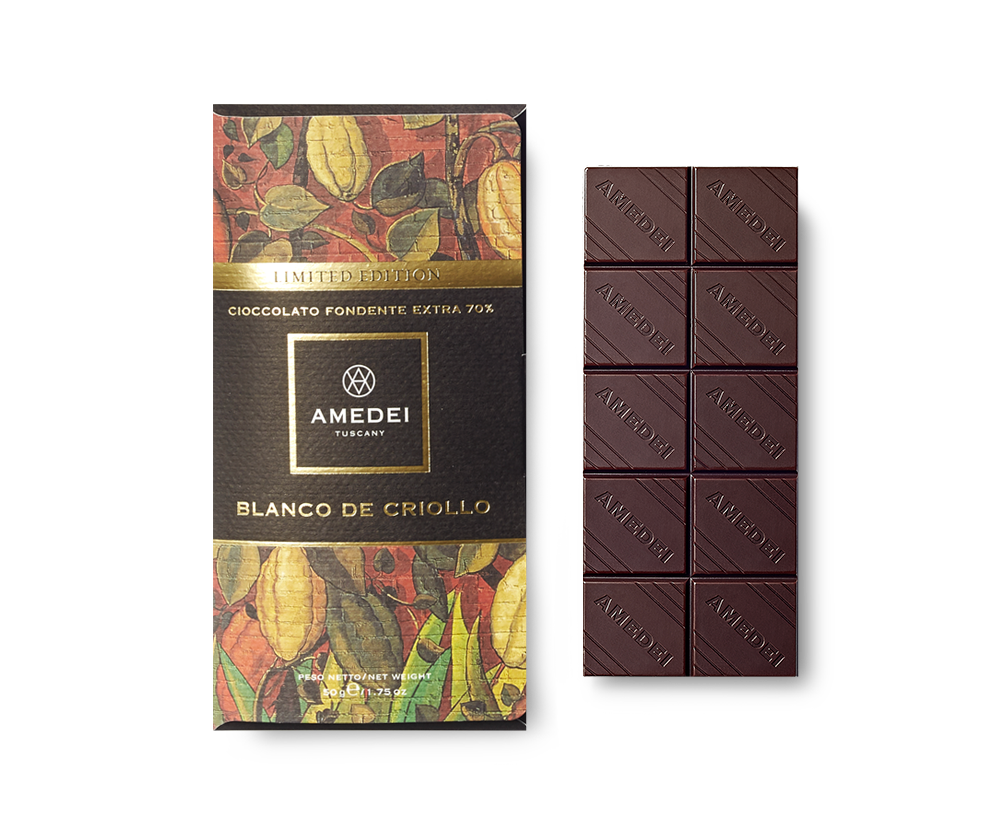
Place the chocolate out on a well-lit piece of white paper or tablecloth to elevate its visual appearance with a white background. Look at each of the chocolates laid out and pay attention to the color of each blend. Some may appear stronger or weaker than others in intensity, while some others may have slightly colored hues. If you are tasting different single-origins of a similar cocoa percentage, do they look different compared to one another? Chocolate from continental-African countries may be darker in color than a chocolate from Madagascar, which typically has a more reddish-tone; some South American beans may have a more amber-toned shade, but compare and contrast the look of each blend to evaluate the difference in appearance and how it may relate to the other sensories.
Step 2: Touch
Actually feeling the chocolate will incorporate your next sense into the experience. Pay attention to how it feels in your hand; note finger sensitivity, softeness vs. hardness, resistance, & bend vs. break. Do not keep the chocolate in your hands for too long, as the human body temp is enough to melt chocolate (which is why chocolate melts in your hand!), but touch the chocolate just enough to get a sense of the surface feel.
Step 3: Hear
An important step in the tasting experience is listening for the “snap” when the chocolate is broken in your hand.
After the touch experience, bring the chocolate close to your ear, and snap it. Listen closely to the sound of the snap and whether it was clear or dull. Generally speaking, the louder the snap, the higher the cocoa butter content, the higher quality the chocolate. Well-tempered chocolate will omit a louder snap, whereas a lower-grade chocolate may not make any snap at all.
Step 4: Smell
After snapping the chocolate, get a whiff of the chocolate’s aroma (smell the chocolate). You may discover a bouquet of aromatic notes, and when sampling single-origin blends, you likely will pick up different notes for each origin. Note the intensity of the smell: if it is strong or weak, and the overall complexity of the smell. You may notice fruity notes, some floral, some aged, etc. The aromas are linked to the chocolate’s flavors, and it helps you identify them once you actually start tasting.
To get a better sense of what you might be noticing, an aroma wheel is helpful in identifying what you might be sensing, which can be viewed above.
Step 5: Taste
What we’re all really here for. Place a piece of the chocolate in your mouth. Let it melt on your tongue to warm it up, chew it a couple times, and let it melt some more. Focus on the flavor that develops as the chocolate melts and progresses across your palate. Tasting chocolate is subjective, so there is no right or wrong in what flavor profiles you might be picking up. Once you start cataloging flavors, you’ll begin to recognize what tastes are more common than others in given origins, differences in flavor perceptions, as well as your new favorite blends.
Palate Cleanser:
When tasting multiple varieties of chocolate, it is important to cleanse your palate in between varietals so the flavors do not overlap one another. After tasting one blend, “cleanse your palate.” The preferred cleanser is water crackers, followed by a sip of water to cleanse properly for the next tasting.
Notes:
When tasting multiple varieties, use note cards to write down perceptions of the tasting experience, your favorite blends, and to identify what aromas you perceive for each chocolate blend. A chocolate sensory wheel can be viewed at the top of the page!
View/Download an Art of Tasting notes template to facilitate tasting chocolate’s various nuances


